
Since I started at the university and learned about data structure, the Queue was (I assume many of you know what Queue is, it is a First-In-First-Out (FIFO) data structure) a very important topic that is used in many algorithmic solutions.
When I ended university and started working for different businesses, I switch from Java and moved back to C# and Microsoft Stack in general. Since that time I have never used Queue, hence all solutions I worked with, typically used List or Dictionary.
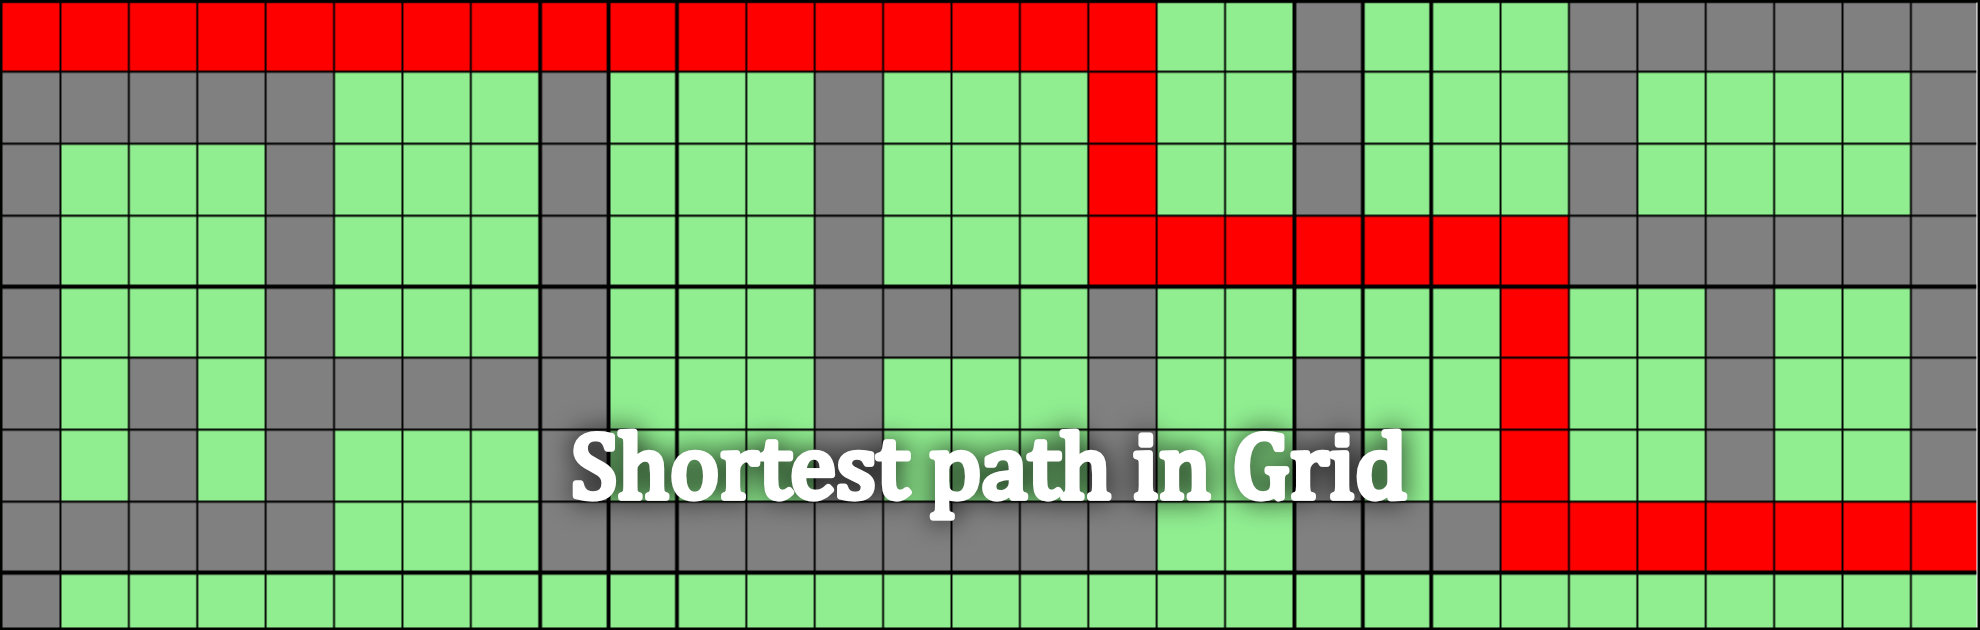
I come up with an old idea I had in mind from university time but never had time to do it. The idea is how to make a visual representation of a simple shortest path in the grid.
Playing with it over the weekend, I found it motivating to write a short article about using Queue in C# to make a simple Breadth-First Search algorithm that uses Queue as the shortest path in Grid.
So before I start, here how the final results look like, you can play with it on azure:
Pre-requisites
- You need to have basic knowledge about Queues, Stack, Graphs
- IDE for C# like Visual Studio, Visual Studio Code, or others.
About the article before we start
In this project, we will have 3 main parts of development, Creating Un weighted graph class, Creating a Breath First Search Algorithm class, and finally, a presentation layer to visualize the Algorithm. This article is not about how Queue works, not about how BFS works or running time. The article will focus on the Breath First Search Algorithm implementation part only with basic features inspired by Algorithms fourth edition by Sedgewick and Wayne.
Let’s start
I have created an GraphUnweighted class with AddEdge and GetAdjacency method.
A Breath First Search algorithm needs a graph that contains Vertices and Edges data, as well as source Vertex where we start in the path, and we will create another method that takes that target Vertex where we end our path, and gives all steps taken from the source to target.
Now we know what we need, here next I create BreathFirstPath a class with a constructor that takes the graph data and the source. And start the BFS searching method.
public BreathFirstPath(GraphUnweighted graphUnweighted, int source)
{
    _marked = new bool[graphUnweighted.CountVertex];
    _edgeTo = new int[graphUnweighted.CountVertex];
    _source = source;
    Bfs(graphUnweighted, source);
}
Here is our BFS Algorithm
private void Bfs(GraphUnweighted graphUnweighted, int source)
{
    Queue<int> queue = new Queue<int>();
    _marked[source] = true;
    queue.Enqueue(source);
    while (queue.Count > 0)
    {
        int v = queue.Dequeue();
        foreach (var w in graphUnweighted.GetAdjacency(v))
        {
            if (!_marked[w])
            {
                _edgeTo[w] = v;
                _marked[w] = true;
                queue.Enqueue(w);
            }
        }
    }
}
We will have 2 basic features in our class, HasPathTo and PathTo:
public bool HasPathTo(int v)
{
    return _marked.ElementAtOrDefault(v);
}

public IEnumerable<int> PathTo(int v)
{
    Stack<int> stack = new Stack<int>();

    if (HasPathTo(v))
    {
        for (int i = v; i != _source; i = _edgeTo[i])
        {
            stack.Push(i);
        }
        stack.Push(_source);
    }

    return stack;
}
The key of PathTo is to create a list of all Vertices between the source and target that we take and make a visual representation of in our project.
Now before moving to the presentation layer, let’s make test out the BFS algorithm.
Lets in our main method, try creating an Undirected and Unweighted Graph with 7 Vertices and 6 edges.
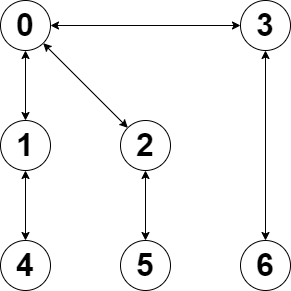
In the following code we have gone created our graph with 7 vertices based on in figure above, where add edge defines the connection between vertices:
GraphUnweighted graph = new GraphUnweighted(7);
graph.AddEdge(0, 1);
graph.AddEdge(0, 2);
graph.AddEdge(0, 3);
graph.AddEdge(1, 4);
graph.AddEdge(2, 5);
graph.AddEdge(3, 6);
Now we have our graph, let’s run the algorithm to get some calculations:
Console.WriteLine($"Number of edges {graph.CountEdge}");
Console.WriteLine($"Number of vertices {graph.CountVertex}");
Console.WriteLine();

int source = 0;
int target = 6;

var adjacency = graph.GetAdjacency(source);
Console.WriteLine($"source vertex {source} is connected to target vertices: {string.Join(" - ", adjacency)}");

var bfs = new BreadthFirstPath(graph, source);
Console.WriteLine($"source vertex {source} is connected to target vertex {target}: {bfs.HasPathToo(target)}");

Console.WriteLine($"source vertex {source} is has path to target vertex {target} via: {string.Join(" -> ", bfs.PathTo(target))}");
The output of the above console code will be like this:
Number of edges 6
Number of vertices 7

source vertex 0 is connected to target vertices: 3 - 2 - 1
source vertex 0 is connected to target vertex 6: True
source vertex 0 is has path to target vertex 6 via: 0 -> 3 -> 6
As we can see, one important result is the last line, which telling us that there is a connection between vertex 0 and 6 via 0->3->6.
It will be time-consuming to maintain AddEdge manually for a bigger map. Therefore I have created a small map to test my code with Vertices label numbers, where all place -1 means blocked area, and all positive integers are connected to a vertical or horizontal neighbor, there are no rules on how you should achieve this, it is just an example:
00;01;02;03;04;05;06;07;08;-1
10;11;12;13;14;15;16;17;18;-1
20;21;22;23;24;25;26;27;28;-1
-1;-1;-1;-1;-1;-1;-1;-1;-1;-1
And I will run the same Algorithm in the console, this time the target is 28.
And I will get the following results:
Number of edges 42
Number of vertices 40
source vertex 0 is connected to target vertices: 10 - 1
source vertex 0 is connected to target vertex 28: True
source vertex 0 has path to target vertex 28 via: 0 -> 10 -> 20 -> 21 -> 22 -> 23 -> 24 -> 25 -> 26 -> 27 -> 28
Now with all that learning and POC, hereafter I created an ASP.NET Razor project, where I made a bigger map, and let the user by clicking the mouse pick a source and target in the grid. And here is the final result:
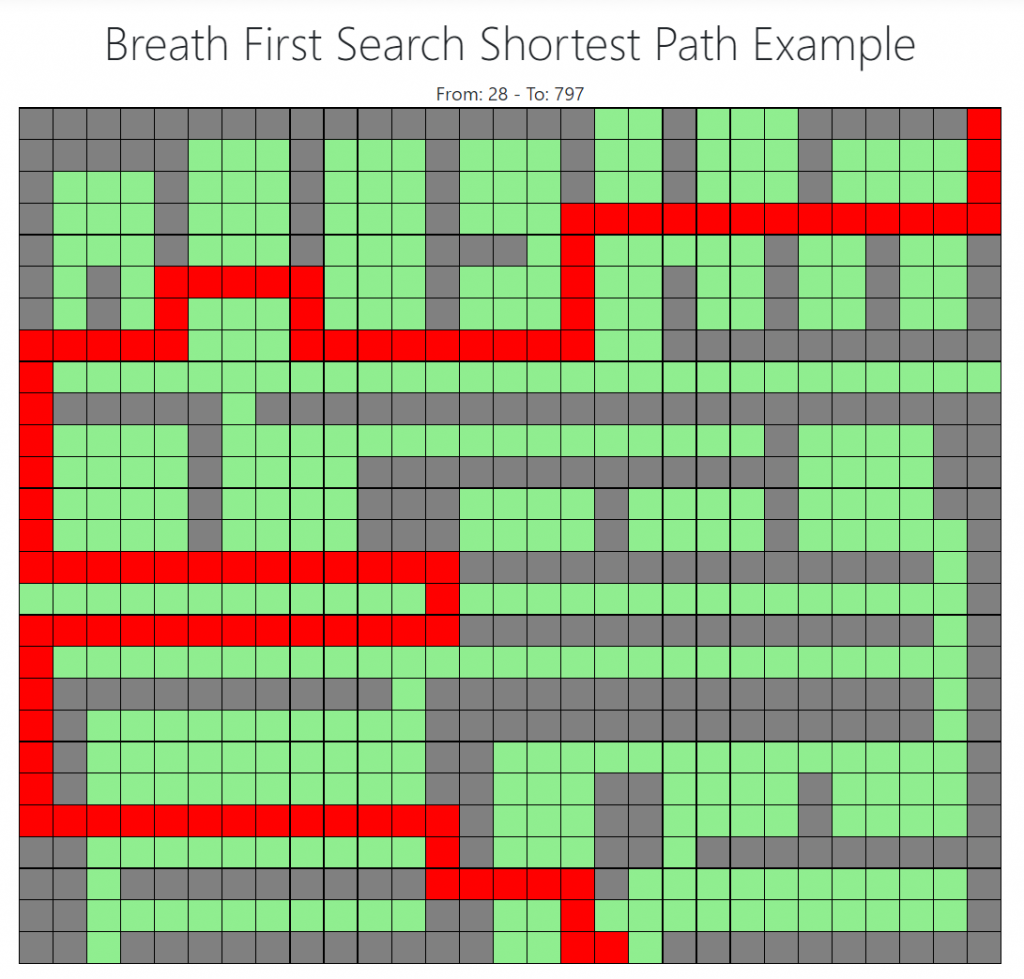
That is it. you are welcome to create your own UI as I did on Azure using the above algorithm.
The Graph and UI code is not provided here, but it is left to you to play with it. If you think I should share the code, please comment.
Conclusion
As you can see, algorithms are very powerful to solve simple and complicated problems. In our case using the right data structure and a few lines of code, we were able to achieve a very fast algorithm to find a path in the grid. This path and grid could be a bigger grid or representation of a bigger map or route, etc., that takes a long time for humans to calculate. Of course, there are other types of shortest-path algorithms designed for a different purposes, but conceptually they are almost the same. For this grid it is also possible to solve this shortest path using Dynamic Programming Algorithm as well, I might find some time in the future to make another article about it. In this post, I wanted to demonstrate how BFS’s shortest path can be visualized in User Interface. So you are welcome to take the code and make your own presentation layer (UI) 😜.
wow! that was very well explained!.
thanks for writing this.
and I like to check the source code for my learning purposes so if it’s possible please share the code or email me.
thanks.
Hi Hamid,
Thank you for reaching out. The backbone code for this algorithm is in this article. Regarding the visual layer, when time allow I need to re-create it again.